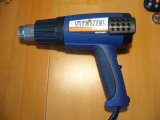
Welcome to
the P90 battery DIY How-To, hope you have some tools ready.
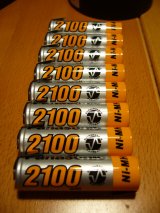
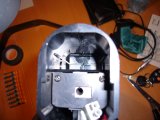
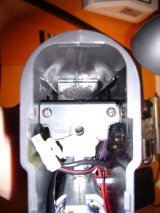
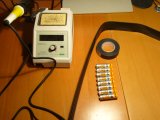
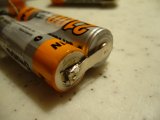
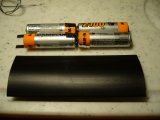
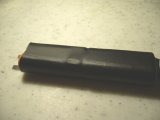
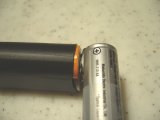
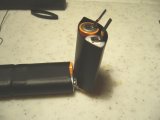
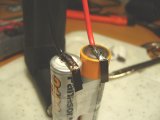
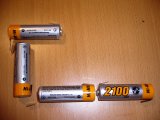
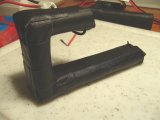
Please note, that the cells used in this How-To are Panasonic HHR-210 AA, their spec sheet can be found here. The spec sheet doesn't mention any high-flowing applications of these cells, but they keep the rate of fire of the P90 / EG1000 with a gearbox upgraded way beyond forum limits very high even without highspeed gears, trust me on that one... You will also need to make a little space by either using insulating tape instead of the plastic housing of the fuse or get rid of the fuse as a whole. I tried both solutions and they seem to work fine. If you have the choice, I recommend keeping the fuse for security purpuses. It's much cheaper to replace a fuse than to replace a motor. We will start by modifying the gun's stock cover, by sanding down the grid on the inner side with the dremel. Please use safety goggles while using a dremel on soft plastic parts, they have a habit of flying off while they're still hot and last thing you want is a hot sharp piece of plastic flying into your eye. Here the mesh goggle nightmares could come true, so use transparent glasses ;) |